How to Calculate Peptide Dosage: Step-by-Step Math
Peptide math is simpler than it looks.
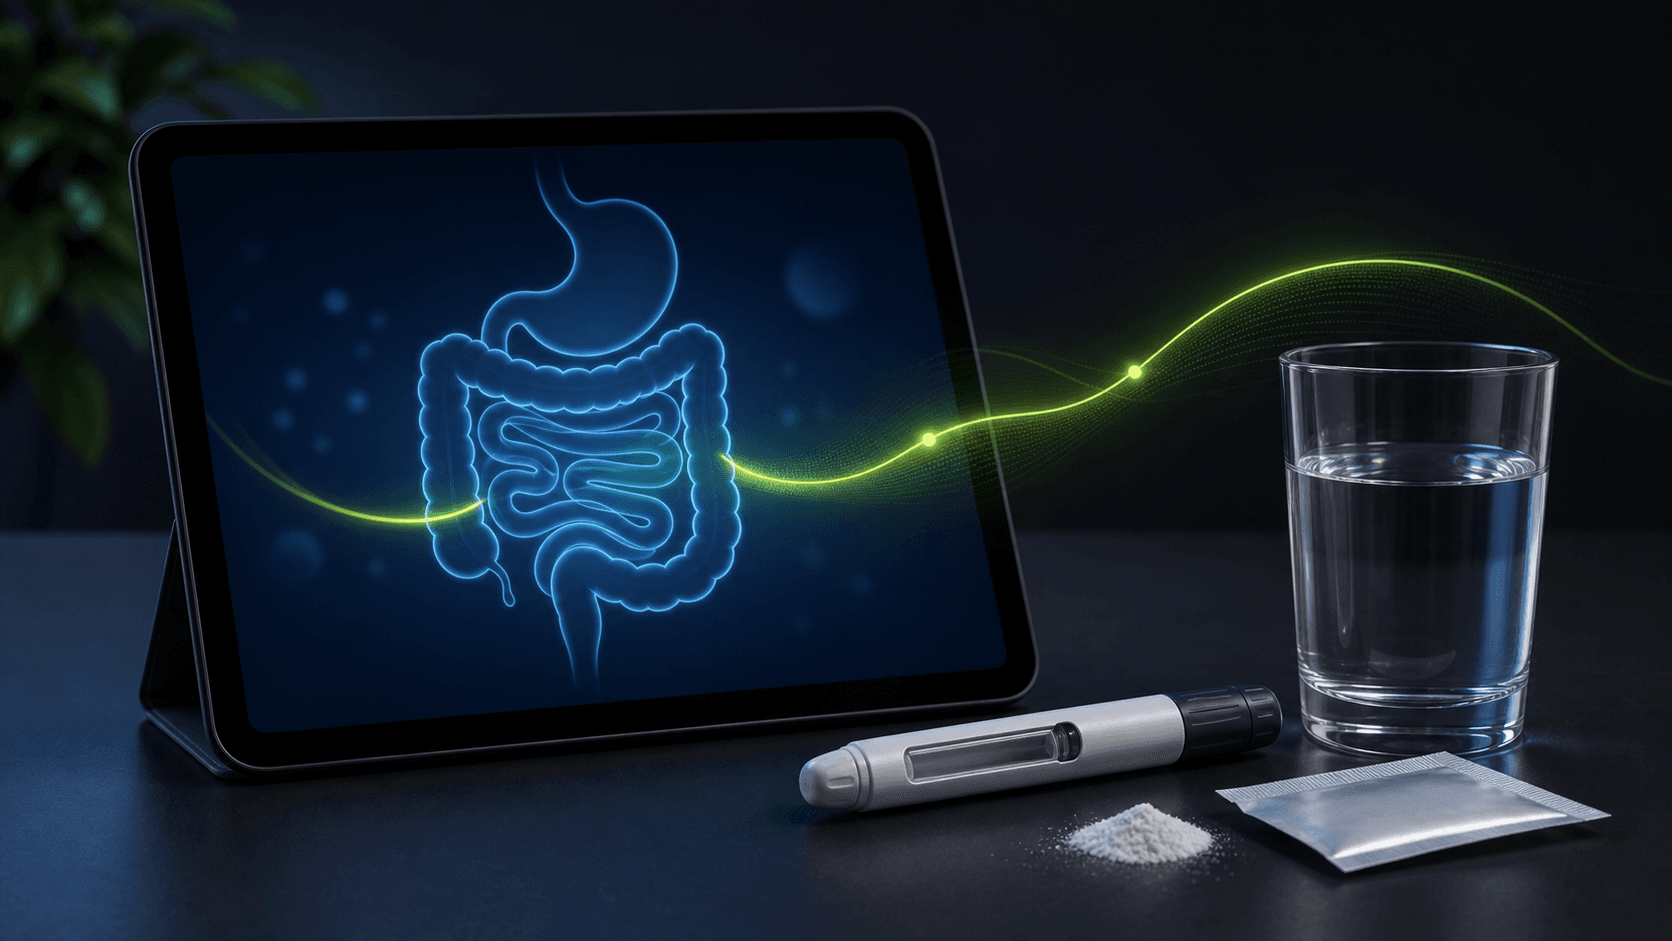
You have a vial of powder, a bottle of bac water for peptides, and an insulin syringe. The label tells you milligrams. Your protocol tells you micrograms. The syringe shows units. Three different scales for the same injection is where most beginners freeze.
This guide walks you through how to calculate peptide dosage from vial label to syringe mark, with worked examples for BPC-157, ipamorelin, retatrutide, and tirzepatide, plus the five mistakes that produce the wrong dose.
The one formula you need to calculate peptide dosage
Units to draw = (desired dose in mcg / vial size in mcg) x (BAC water in mL) x 100.
Example: 250 mcg from a 5 mg vial reconstituted with 2 mL of BAC water. (250 / 5000) x 2 x 100 = 10 units. Pull the plunger to the 10 mark on a U-100 insulin syringe.
Need to skip the math? Use the reconstitution calculator or the full peptide calculator.
🔑 Key Takeaways
- Three inputs decide every dose: vial size in mg, BAC water added in mL, and desired dose in mcg.
- 1 mg equals 1,000 mcg. Mixing the two units is the single biggest source of overdose.
- On a U-100 insulin syringe, 100 units = 1 mL. Multiply your mL volume by 100 for the unit mark.
- 2 mL of bacteriostatic water on a 5 mg vial is the cleanest starting point for most peptides.
- Bigger vials and titrated compounds (retatrutide, tirzepatide) work better with 1 mL of BAC for tighter draw volumes.
How to Calculate Peptide Dosage in 4 Steps
Pin the four numbers down before touching a syringe.
- Read the vial. Note the total peptide in milligrams. Common sizes are 2 mg, 5 mg, 10 mg, 15 mg, and 30 mg.
- Pick your BAC water volume. Most people use 1 mL or 2 mL. More water means a more dilute solution and larger draws on the syringe.
- Convert your protocol to micrograms. A 0.25 mg dose is 250 mcg. A 2.5 mg retatrutide dose is 2,500 mcg.
- Apply the formula. Units = (dose mcg / total mcg in vial) x BAC mL x 100. The output is the unit mark on a standard U-100 insulin syringe.
That sequence is all you need to calculate peptide dose for any compound, in any vial size, with any reconstitution volume.
Worked Examples: Calculate Peptide Dose for Real Compounds
Numbers stick when you see them on the syringe.
BPC-157, 5 mg vial + 2 mL BAC water
Concentration after mixing: 5,000 mcg / 2 mL = 2,500 mcg per mL.
| Dose | Volume (mL) | U-100 units |
|---|---|---|
| 250 mcg | 0.10 mL | 10 units |
| 500 mcg | 0.20 mL | 20 units |
| 750 mcg | 0.30 mL | 30 units |
That gives you 20 doses of 250 mcg from one 5 mg vial. For dose-by-condition tables, see the BPC-157 dosage guide.
Ipamorelin, 5 mg vial + 2 mL BAC water
Same concentration as BPC-157: 2,500 mcg per mL.
| Dose | Volume (mL) | U-100 units |
|---|---|---|
| 100 mcg | 0.04 mL | 4 units |
| 200 mcg | 0.08 mL | 8 units |
| 300 mcg | 0.12 mL | 12 units |
If 4 units feels too small to read precisely, switch to 1 mL of BAC. That gives 5,000 mcg/mL, where 100 mcg lands on 2 units. Some people prefer the opposite: 3 mL of BAC, which puts 100 mcg at 6 units, easier to see on the scale. The same logic applies to CJC-1295 + ipamorelin stacks.
Retatrutide, 10 mg vial + 1 mL BAC water
Concentration: 10,000 mcg per mL. Higher concentration is intentional because retatrutide doses run from 2 mg to 12 mg.
| Dose | Volume (mL) | U-100 units |
|---|---|---|
| 2 mg (2,000 mcg) | 0.20 mL | 20 units |
| 4 mg (4,000 mcg) | 0.40 mL | 40 units |
| 8 mg (8,000 mcg) | 0.80 mL | 80 units |
The full titration ladder is in the retatrutide dosing schedule.
Tirzepatide, 30 mg vial + 1.5 mL BAC water
Concentration: 20,000 mcg per mL.
| Dose | Volume (mL) | U-100 units |
|---|---|---|
| 2.5 mg | 0.125 mL | 12.5 units |
| 5 mg | 0.25 mL | 25 units |
| 7.5 mg | 0.375 mL | 37.5 units |
| 10 mg | 0.50 mL | 50 units |
Standard Reconstitution Map
Memorize this and most calculations vanish.
| Vial | BAC water | Concentration | 1 unit on syringe equals |
|---|---|---|---|
| 2 mg | 1 mL | 2,000 mcg/mL | 20 mcg |
| 5 mg | 1 mL | 5,000 mcg/mL | 50 mcg |
| 5 mg | 2 mL | 2,500 mcg/mL | 25 mcg |
| 10 mg | 1 mL | 10,000 mcg/mL | 100 mcg |
| 10 mg | 2 mL | 5,000 mcg/mL | 50 mcg |
| 15 mg | 1.5 mL | 10,000 mcg/mL | 100 mcg |
| 30 mg | 1.5 mL | 20,000 mcg/mL | 200 mcg |
Once you know what one unit equals, the dose math becomes division you can do in your head.
U-100 Insulin Syringe: How Units Map to mL
Every U-100 syringe uses the same scale.
- 10 units = 0.10 mL
- 20 units = 0.20 mL
- 50 units = 0.50 mL
- 100 units = 1.00 mL
The arithmetic is fixed: mL x 100 = units. If your peptide dose calculator returns 0.18 mL, you pull to 18 units. If it returns 0.045 mL, you pull to between the 4 and 5 mark, and most people round to the nearest readable line. Half-unit markings exist on 0.3 mL and 0.5 mL syringes if you want sharper resolution on small doses.
Reconstitution: The Steps Before Any Math Matters
Bad mixing breaks good math.
- Bring the powder vial and BAC water to room temperature. Cold water foams more on contact with peptide.
- Wipe both rubber stoppers with an alcohol swab and let them dry for 10 seconds.
- Draw your planned BAC volume. For a 2 mL pull, that is 200 units on a 1 mL insulin syringe, or use a 3 mL syringe for a single clean draw.
- Insert at an angle and aim the stream at the inner glass wall. Do not blast the powder directly.
- Vacuum is normal in sealed vials. Hold the plunger so the water does not get sucked in too fast.
- Roll the vial gently between your palms until the solution turns clear. Never shake.
- Label the vial with peptide name, total mg, BAC volume, and date.
- Refrigerate. Most reconstituted peptides hold for 2 to 4 weeks at 4°C.
Five Mistakes That Produce the Wrong Peptide Dose
Every error below has put a beginner in the ER.
1. Confusing mg and mcg. A 5 mg dose is 5,000 mcg, not 5. Reading "5 mg/mL" on the label and dosing 5 mcg means you took 1/1000th of your protocol. Reading 5 mg as 5 and dosing 5 mL means a 1,000x overdose. Always convert both numbers to the same unit before you divide.
2. Wrong syringe scale. U-100 is the standard. U-40 syringes (used for some pet insulins) treat 1 mL as 40 units, so the same draw on a U-40 is 2.5x the dose. Verify the scale printed on the barrel.
3. Adding too much BAC water. A 5 mg vial in 5 mL of BAC water gives a concentration so dilute that small reading errors swing the dose by 20%. Stick to 1 mL or 2 mL on most 5 mg vials.
4. Forgetting peptide loss to vial walls. A small fraction of peptide sticks to the glass and rubber stopper. For most compounds the loss is under 5%, but for sticky ones (BPC-157, GHK-Cu) it can reach 10% on the last few draws. Plan to use the vial within 4 weeks.
5. Drawing partial units in your head. If your peptide dose calculator returns 6.4 units, do not estimate. Either change the BAC volume so the dose lands on a whole number, or use a 0.3 mL syringe with half-unit markings.
When to Use a Peptide Dose Calculator vs. the Formula
Both have a place.
Use the formula when you already understand the math and you want to memorize one or two ratios for the peptides you run weekly. The mental shortcut is faster than opening an app.
Use a calculator the first time you reconstitute a new compound, when switching vial sizes, or when running a stack with three different concentrations. The PeptideDeck reconstitution calculator takes vial mg, BAC mL, and dose mcg and returns the syringe units in one screen. The full peptide calculator covers stacks, weekly schedules, and cycle planning.
Common stack examples worth running through the peptide dose calculator: CJC-1295 dosing, the Wolverine stack, and Glow blend.
How to Calculate Peptide Dosage by Body Weight
Some protocols list dose per kilogram instead of a flat number.
BPC-157 is the most common example, often written as 2.5 mcg/kg. For an 80 kg person that is 2.5 x 80 = 200 mcg per injection. Plug 200 mcg into the same formula as before. From a 5 mg vial in 2 mL BAC, that is (200 / 5000) x 2 x 100 = 8 units.
The same logic works in reverse. If your vial gives 25 mcg per unit and you want 200 mcg, you need 8 units. Body weight just decides what number you start with. Compound-specific weight tables live inside each guide, including TB-500 dosing and GHK-Cu dosing.
Frequently Asked Questions
This article is for informational and educational purposes only and is not medical advice. Talk with a licensed clinician before starting any peptide protocol. Dosing decisions, route of administration, and frequency should be based on your individual health profile, lab work, and medical history.